
Welcome to White Oak Farm!
Now that you’ve decided what kind of chicks you want, let’s dive into the essential information you’ll need to know to raise healthy, happy chicks of any breed. Be sure to check out the other Chapters in this series for all the must-know tips! You can find the links at the bottom of this blog page and also on the FARMHOUSE BLOG page of this website.
PREPARING FOR YOUR NEW BABY CHICKS
WHERE WILL THEY LIVE?
You can keep chicks almost anywhere because their small size makes them easy to handle but they will grow quickly! By the time they’re three or four weeks old they’ll take up a lot of space and be making a big mess, so preparing a safe living space for them is actually quite important. The good news is that you may be able to transfer them to their outside coop at 4-5 weeks of age, so you won’t have to deal with the mess for too long providing the temperature where you live is warm enough at night.
Where I live in MD, it didn’t warm up enough consistently till mid-May when they were about 8 weeks old. You can find out more on when to transition them to the coop in Chapter 5.
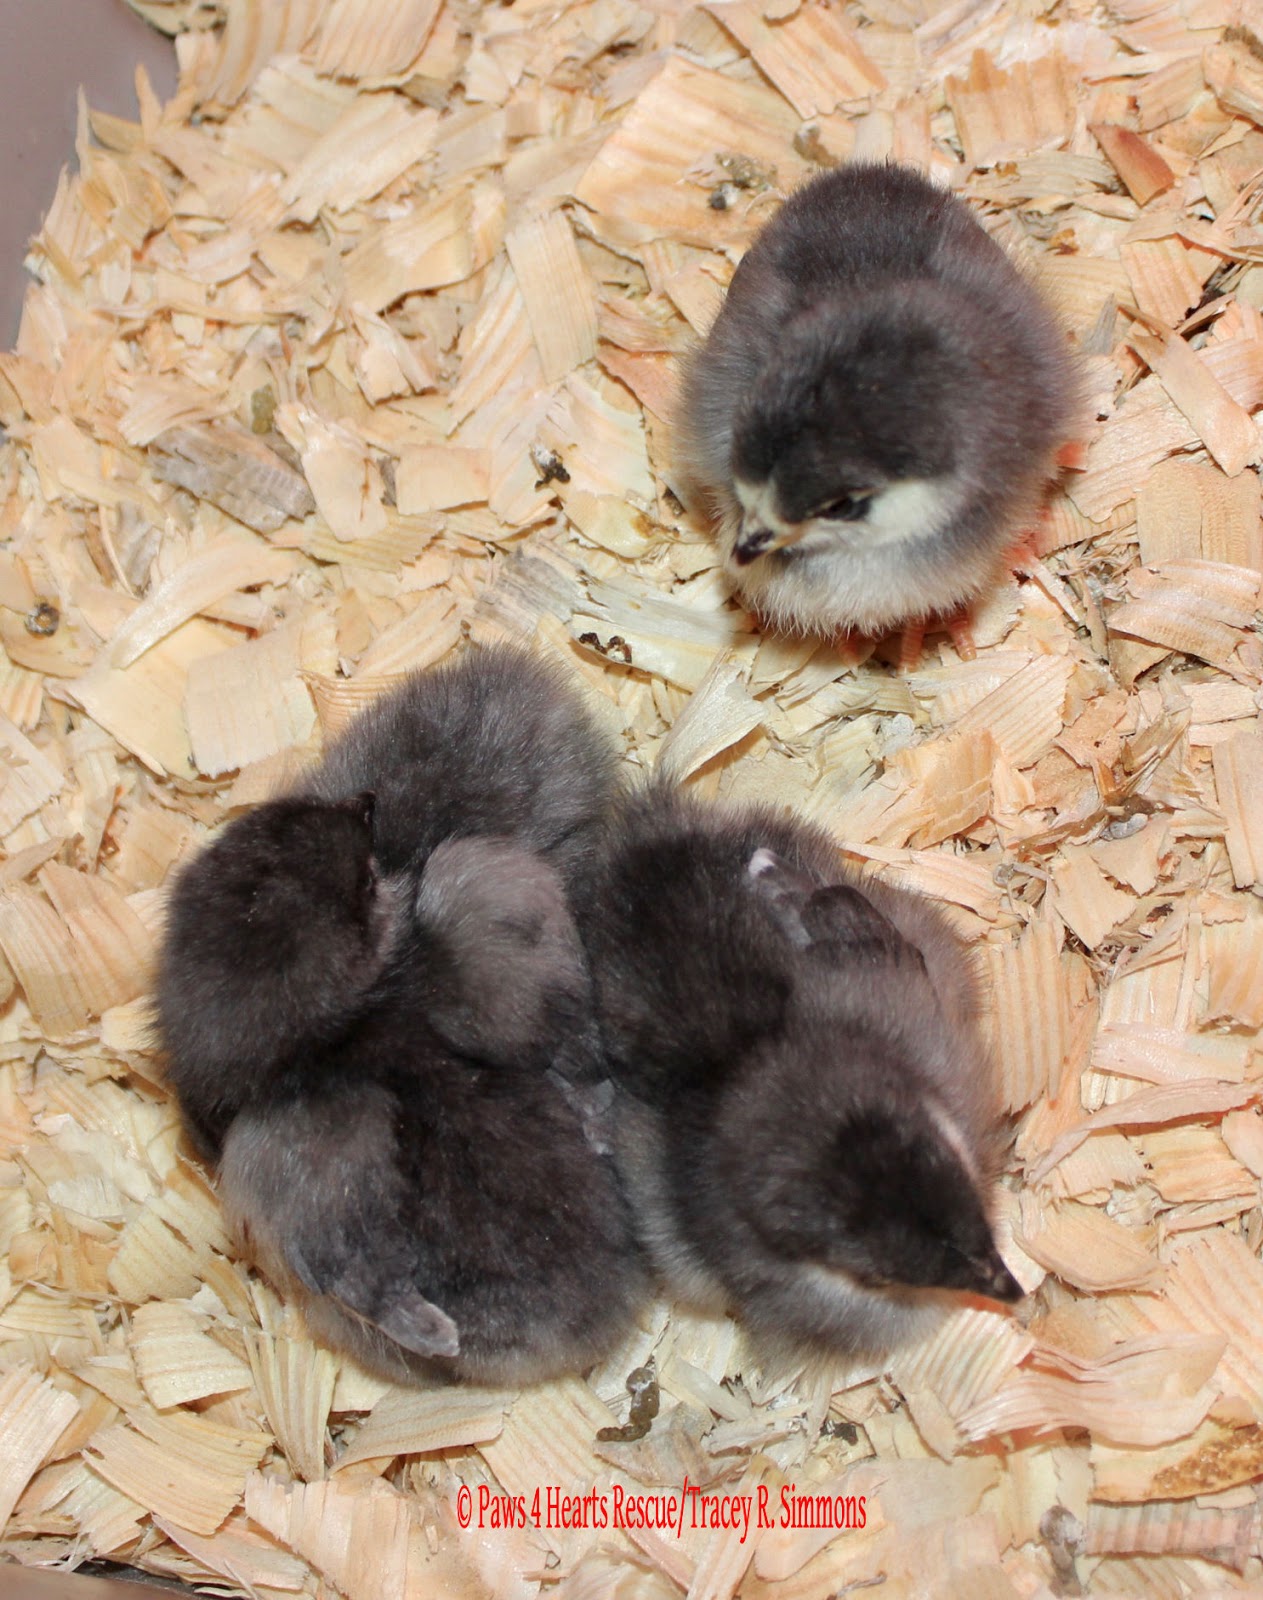
BORN THE SAME DAY
Usually the chicks are shipped the same day they are born. They have to endure a long, cold or hot bumpy ride so they will usually be very hungry and thirsty by the time you pick them up at your post office 1-3 days later. You need to be prepared and there are some things you must have on hand once you get them home.
GETTING READY TO BRING CHICKS HOME
Here’s the complete list of supplies to get your new babies off to a great start!
COMPLETE CHICK SUPPLY LIST
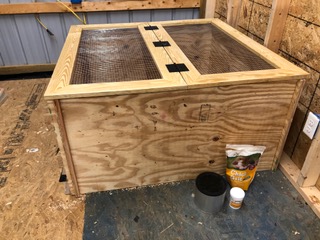
- Brooder Box with a ventilated top
- Bedding (ie pine shavings, shredded newspaper, or paper towels, etc)
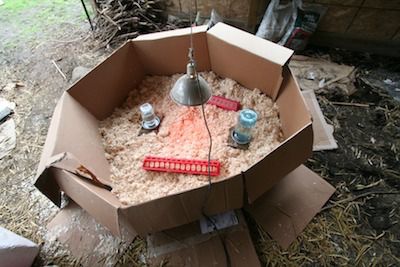
- Heat source (either a or a Clamp-on, Metal Caged Heat Lamp with a 250 Watt red heat bulb)
- Digital Thermometer
- Chick Starter food
- Chick Grit
- Electrolytes and probiotics packets
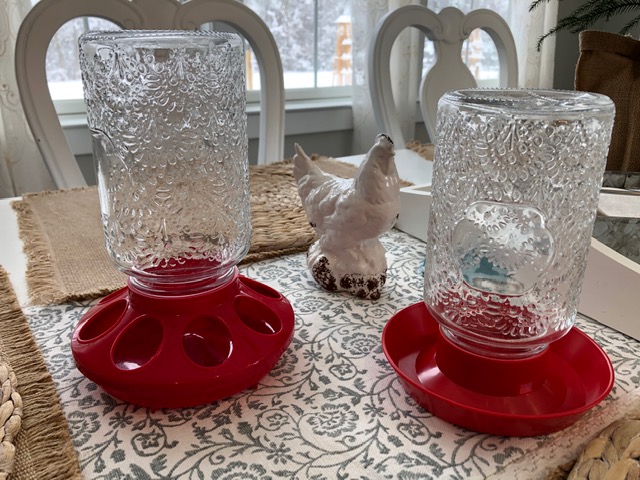
- 2 Chick-sized Watering containers
- 1 Chick-sized Feed container
- 3 12 x 12 concrete pavers/stepping stones (if using pine shavings for bedding)
Please check out the Farm Animals and Pets section of our WHAT WE USE page for links to most of the items listed above!
BE PREPARED BEFORE YOU BRING THEM HOME!
Have everything set up in your brooder box of choice at least a few hours before they arrive or even a day or two before. You’ll want to get the bedding spread around, set up and fill your feed container. Feed should be available 24/7. You can sprinkle a little of the chick’s feed on the floor of the brooder to keep them busy and entertained. They like to scratch around in the bedding just like big chickens do and it’s quite entertaining!
Always have a supply of fresh water available. Change the water at least twice a day. Put warm water with the proper amount of electrolytes & probiotics mixed into one water container and plain warm water in the other. Set them on something such as a paper towel or rag to absorb any spills so the chicks won’t get wet. If you use pine shavings, I highly recommend getting some blocks of wood or 12 x 12 concrete stepping stones and placing your three dishes on top of these. This really helps keep the shavings out of their water and food.
WARM UP THEIR NEW HOME!
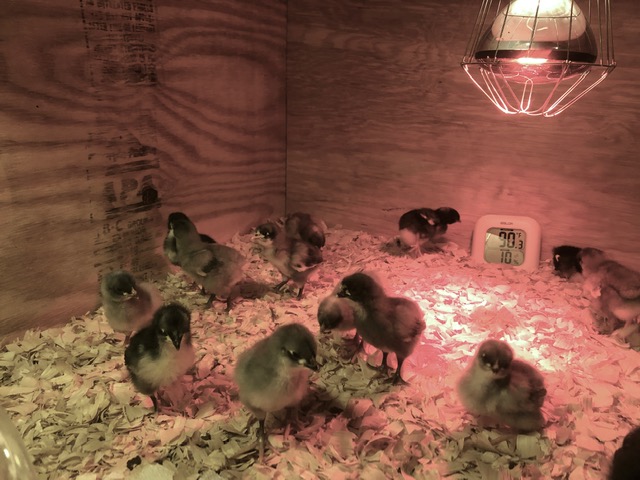
Warmth is critical to baby chicks, but their need for artificial heat diminishes as they age. So how do you know if your brooder is the right temperature for your new chicks? In addition to noting your chicks’ positions in the brooder (more about this in Chapter 5), a thermometer is a ESSENTIAL ITEM YOU MUST HAVE for healthy chicks. Brand new baby chicks need temperatures just under 100 degrees. However, their need for heat decreases about 5 degrees per week until they are about 10 weeks of age.
ADJUST THE HEAT SOURCE
You will want to get your heat lamp or other heat source adjusted until you get the brooder to about 95 degrees Fahrenheit (temperature at approx. 2 inches off the floor). It can take a little while to get the temperature up and steady , depending n the temperature of your space. A brooder box with solid sides is essential because they will help keep the heat in where it needs to be, keep the temperature more steady, protect the chicks from drafts and from being spooked, especially if you have curious pets or children.
APPROXIMATE TEMPERATURE BY AGE
- Week 1 90 – 95°
- Week 2 85 – 90°
- Week 3 80 – 85°
- Week 4 75 – 80°
- Week 5, 6, 7 70 – 75°
- Week 8 65 – 70°
- Week 9 65° minimum
THE BEST THERMOMETER
A digital thermometer LIKE THIS is the best kind because they will peck at the red glass of a regular old mercury one. If it were to break, they could eat the glass and balls of toxic mercury inside and certainly die. Keep the temperature at 95 degrees Fahrenheit and reduce it by 5 degrees each week until they are about 10 weeks of age or until you’ve reached a normal room temperature of about 70 degrees.
HOW TO CHOOSE BEDDING MATERIALS
I use and recommend flake-style pine shavings in the brooder. They smell great, look great, they’re inexpensive, and last a good long time. You can easily individually pluck out any wet messes as needed if you like. It’s easy to rake the shavings around a little every day or two and the chick droppings will mostly fall to the bottom. About once every 10-14 days I like to remove all of the bedding and replace it.
OTHER CHAPTERS TO READ
Join me next week for Chapter 3 of my free e-book “The SMH Ultimate Guide to Baby Chicks” to find out how to care for your new babies once you bring them home! Be sure to check out the other Chapters in this series for all the must-know tips!
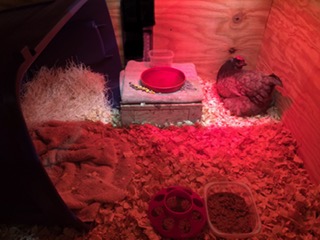
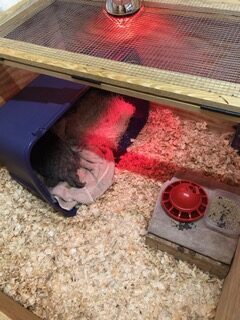
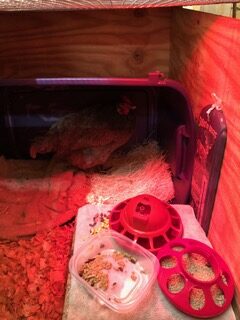
Scroll to the bottom to see Daisy, our hen that was recently attacked by a hawk, in our chick brooder that I set up as a hospital for her month long recovery.
Truly,

“All Our Dreams can Come True, if we have the Courage to pursue them.” – Walt Disney
Come back and visit again real soon here on the FARMHOUSE BLOG and check out the VIDEO GALLERY page to see what we area up to on our SMH YouTube Channel!
Visit the VIDEO GALLERY page of this website to see How to Build a Chick Brooder Box. Martin takes you into the workshop to show you how to build it out of 1 sheet of plywood. It’s a really nice, sturdy one that stores flat. It can be used for many years to come for raising chicks and even as an isolation box for a hurt or sick chicken in the future.
Check out our WHAT WE USE page for links to most of the items I’ve recommended in this blog. If you decide to buy anything from those links, we make a small commission which would really help us at SMH to keep providing homesteading tips. It’s an affiliate program service to small business owners like us and doesn’t cost any extra for you. We are happy to provide an easy way to find all the essential supplies we use and recommend to set you up for success. See our Disclosure and Privacy Policy for more info.
FIND THE LINKS BELOW TO ALL FIVE CHAPTERS OF MY FREE E-BOOK: “THE SMH ULTIMATE GUIDE TO BABY CHICKS”.
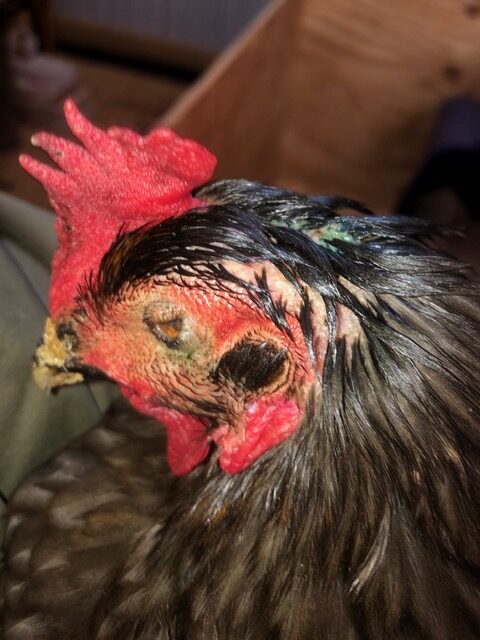
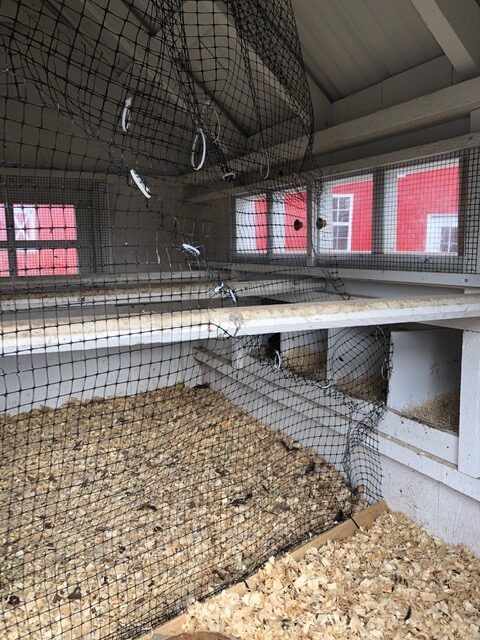
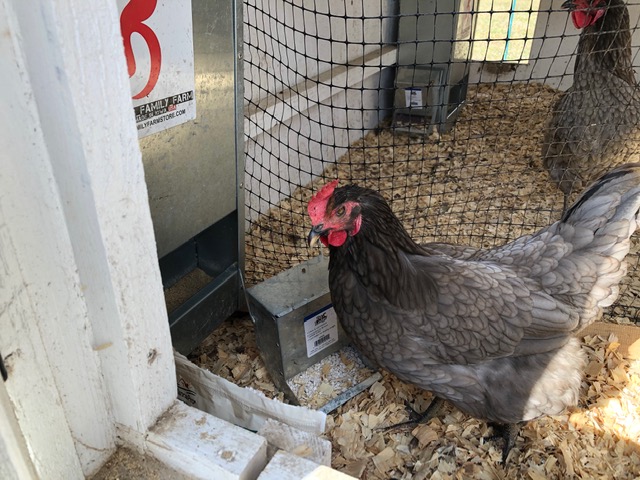
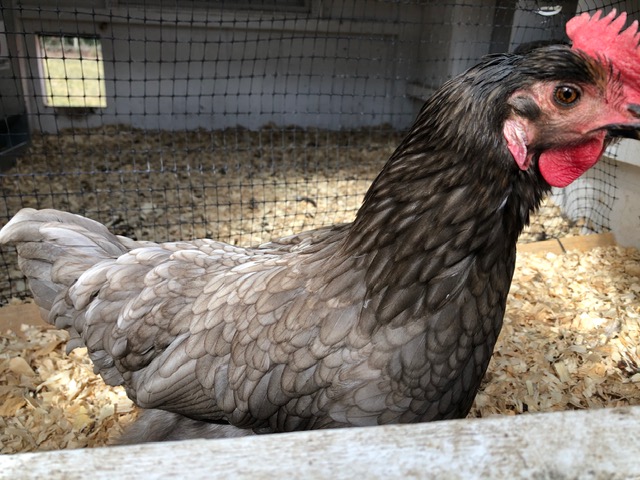
This is Daisy, our Sapphire Gem hen that was attacked by a hawk the day after New year’s Day. She fortunately survived but she was in shock for 2 days. It took her a month to heal up before we could introduce her back into the flock.
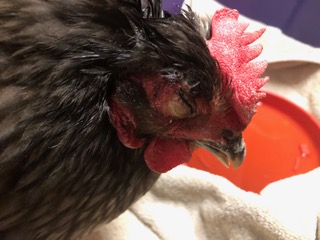
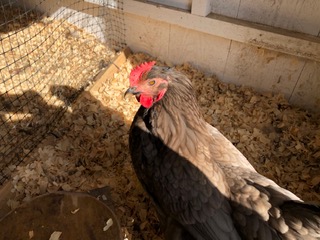
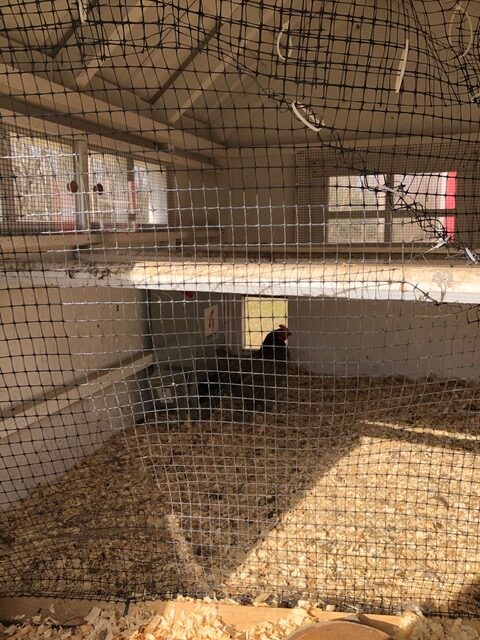
She has never regained her place in the pecking order she had before her injuries and some of the dominant hens unfortunately still pick on her and chase her around. The poor little girl lost some sight in her left eye and about 1/2 her body weight. She has had a rough go of it. I had to partition off a small part of the coop for her so the others could get used to her again. I included a nest box and part of a roost bar in her section so she could be right up beside them on the roost.
She is very attached to me since being nursed back to health and receiving extra brushing, treats and cuddle time.

Leave a Reply