
Welcome to White Oak Farm!
Welcome back to The SMH Ultimate Guide to Baby Chicks! Here in Chapter 3 you’ll begin to learn how to care for your new little chickens once you get home with them. Be sure to come back next week for chapter 4, where I’ll tell you what the second biggest danger for your baby chicks is.
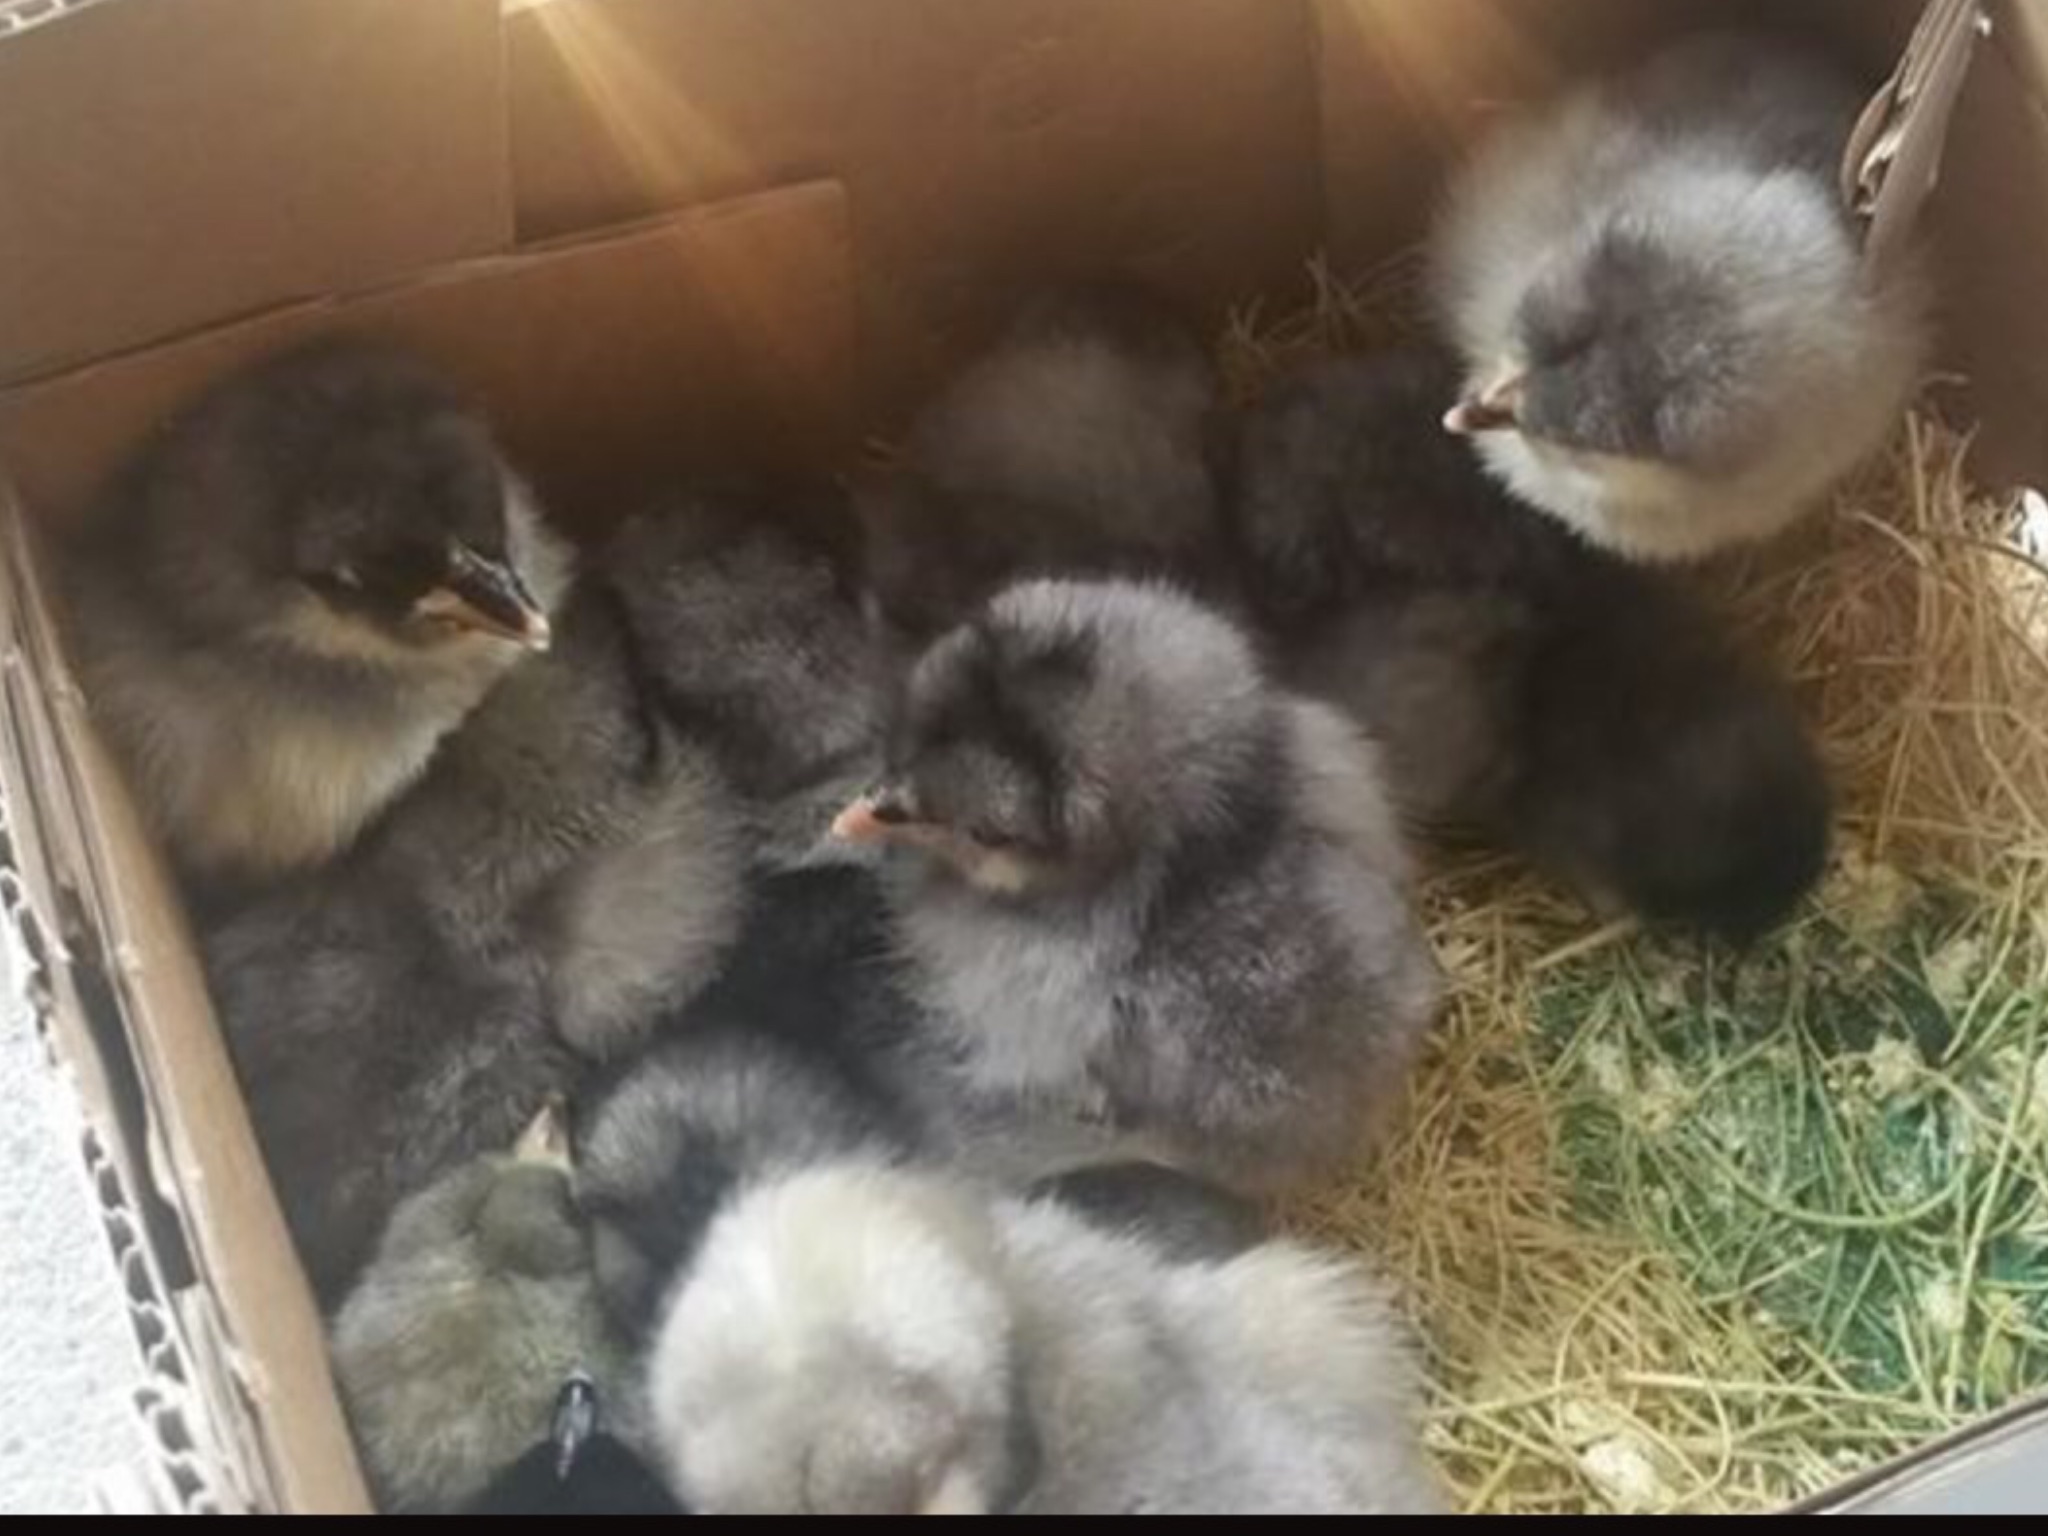
ONCE YOU GET THEM HOME
DIP THEIR BEAKS IN WATER
Take them out of the box one at a time!
Give them each their first drink by dipping the tip of their beak into the electrolyte and probiotic fortified warm water once or twice till they are obviously swallowing it. This will show them where it is, get them hydrated and off to a great start! For more on this and all the supplies you need for getting your chicks off to a great start, see Chapter 2 and the rest of the series of The SMH Ultimate Guide to Baby Chicks right here on the Homestead Blog of the SMH website.
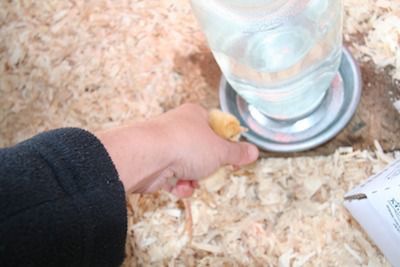
Be careful not to dip their beaks too deeply because their nostrils are on the upper part of the beak and they will breathe water into their lungs which is very dangerous for them. Remember they have never eaten solids or drank water before in their whole lives. They will find the feed eventually or you can also set them near it and tap it with your fingertip, but that isn’t initially as important as the first drink of water. Usually once one figures it out and starts pecking, the others will check it out too. They are great copy cats and very curious!
TWO BIG DANGERS FOR BABY CHICKS
THE BIGGEST DANGER
The biggest danger to your baby chicks is a condition called “PASTY BUTT”.
It may occur about once in each chick but some will never get it. It will probably occur a few times in a small flock. Their systems are not used to eating the new dry food. It can get very sticky and thickened inside and out, almost like chunky peanut butter. They can have a difficult time pushing this thick new food out. It can become dried onto the outside fur, begin to get backed up and will start to build up inside their little body. This condition can kill a chick in just a few hours if not cleaned off.
Never ever pull or pick at anything on your chicks bottom!
This can be very dangerous! (Cleaning Pasty Butt instructions follow below, but I wanted to mention this first, because some people won’t read all the way through and could cause serious harm.) You can also damage or pull their vent or “cloaca” completely out by pulling at the hardened poo paste. Here’s a great article if you want more info on how they poop and lay eggs from the same body part. Http://www.wide open pets.com/everything-need-know-chicken-lays-eggs/
The hard end of their umbilical cord is located just below the anus. It often sticks out sometimes a half inch or just a little bit for a few days before naturally drying and falling off, like a newborn baby’s does. You should not touch it or put anything on it. You can also easily mistake it for the hardened “pasty butt” poo and easily rip it right out, leaving a gaping hole in your chicks body! This usually leads to a fairly quick death.
Give Probiotics and Electrolytes
This helps their digestive tract health and boosts good bacteria levels to help combat the bad bacteria so they can properly digest solid food without bloating. This wards off nasty pasty butt! I like to give electrolytes with the probiotics, mixed into the same water container. You also will need a second water container to offer clean, plain water alongside the fortified water. Check instructions on the container for the best directions and amounts for each product. I like the SAV-A-CHICK brand, but there are others available that can also work well.

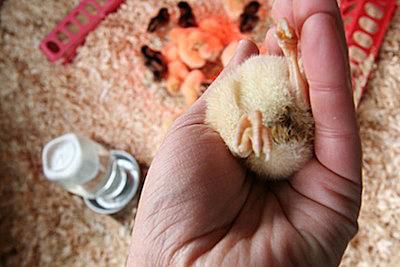
A VERY GOOD HABIT
Check the bottom every time you handle a chick.
It’s good practice to get in the habit of picking up EACH chick at least twice a day to check each furry bottom. Picking each one up daily helps socialize your baby chicks too, so just take a peek back there to make sure it’s clean. This may seem silly but is very important!
Sometimes pasty butt is difficult to spot just looking at them from above because they are so fluffy and the fur will hide the early stages of this condition, especially in darker colored chicks.
You probably won’t notice it if you’re just looking in from above until it’s quite bad. At that point, it becomes much more difficult to clean off and the process is much more stressful and dangerous for the chick. It can be painful and stressful for the chick and for you because you’ll have to handle and work on them for a long time. Also, the longer they stay blocked up the more impacted their little system gets, which is very painful and dangerous for their health.
HOW TO CLEAN A PASTY BUTT
You’ll ONLY need a couple cotton balls, a piece of paper towel and warm running water. Be sure it’s warm, not hot. The best way I’ve found to clean this is to simply hold your chicks bottom directly in a gentle stream of running warm water.
Gently dab at the “paste” with a cotton ball under warm running water.
First, try to dampen all of the hardened poo and then begin working from the outside in, from the edges to the anus. Just remove a little bit of the clumpy paste at a time. Work slowly and gently removing little bits at a time.
Try to wet only the messy part of the butt and keep your chick as dry as possible.
Also, you should know that chickens do not breathe very well when upside down, so work quickly and give a break every few minutes by holding the chick upright on your hand or set it down on a small towel for about 15-20 seconds.
DANGER #2 IS COMING IN CHAPTER 4
The other chapters have lots more tips!
Thanks for joining me today. To get all my tips for raising healthy chicks, be sure to read all the other Chapters of The Ultimate Guide to Baby Chicks! Chapter 4 will be ready for you next week right here on the Homestead Blog of this SMH website!
You can find the links to the other 4 Chapters at the bottom of this blog page and also on the FARMHOUSE BLOG page of this website. Be sure to check out the other Chapters in this series for all the must-know tips!
There’s a complete list of the supplies you’ll need in CHAPTER 2 of this series, and lots of those items are available through the links on our WHAT WE USE page.
Keep up with us on the farm right here at our SMH website and please check out our videos from the SMH YouTube Channel too! There are currently chicken related videos on Building a really nice, sturdy Brooder and Winter Feeding of our Chickens. You can also find them in this website on the VIDEO GALLERY page. We’ll release a couple more YouTube videos soon of our Mobile Chicken Coop and will be featuring our Premier 1 solar/electric fencing system for pasture-raised chickens!
I also frequently post current pics of my girls, what they’ve been up to, and I’ve been introducing them by name on our SMH Facebook Page!
Truly,

“Without leaps of imagination, or dreaming, we lose the excitement of possibilities. Dreaming, after all, is a form of planning.” – Gloria Steinem
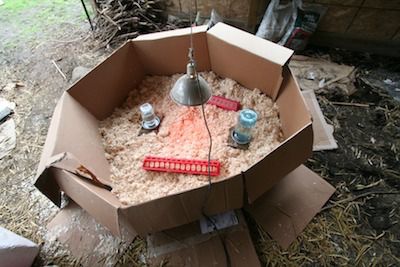
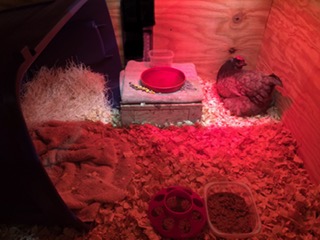
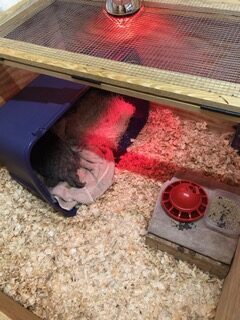
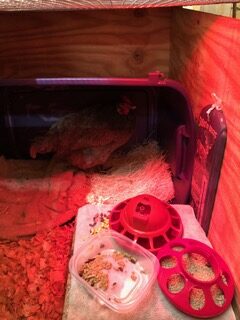
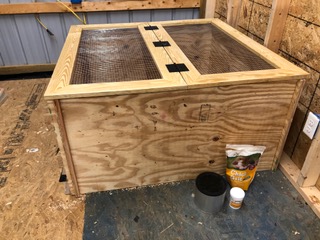
Visit the VIDEO GALLERY page of this website to see How to Build a Chick Brooder Box. In this video, Martin takes you into his workshop to show you how to build it out of 1 sheet of plywood. It’s a really nice, sturdy one that stores flat. It can be used for many years to come for raising chicks and even as an isolation box for a hurt or sick chicken in the future.
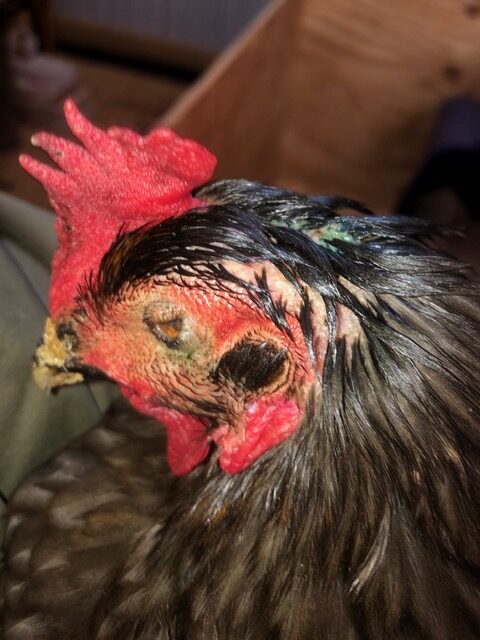
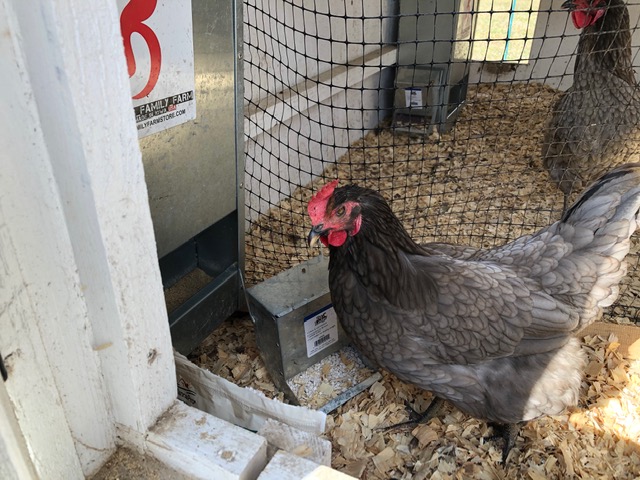
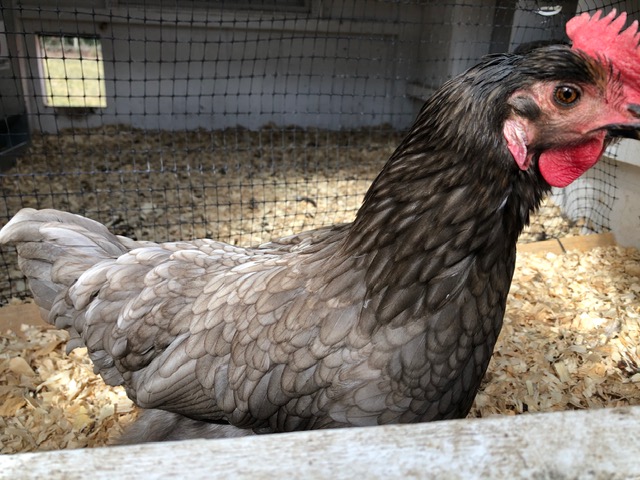
You can see my sweet Daisy in the brooder box during her recovery below. She is a Sapphire Gem. She’s a survivor of a recent hawk attack the day after New year’s Day. Fortunately she survived but was in shock for 2 days. The poor little girl lost some sight in her left eye and about 1/2 her body weight. She has had a rough go of it.
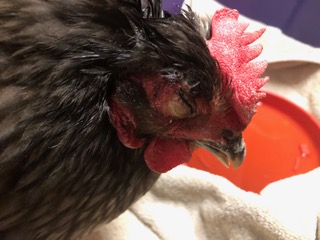
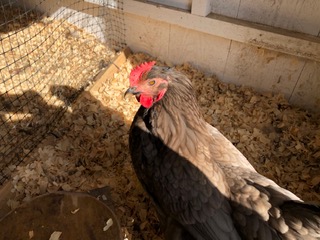
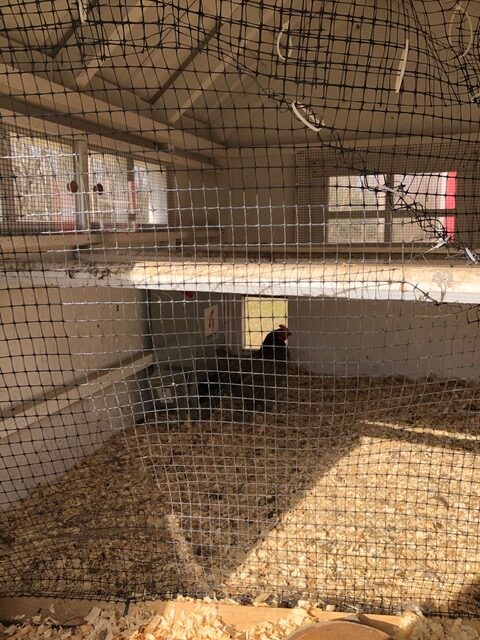
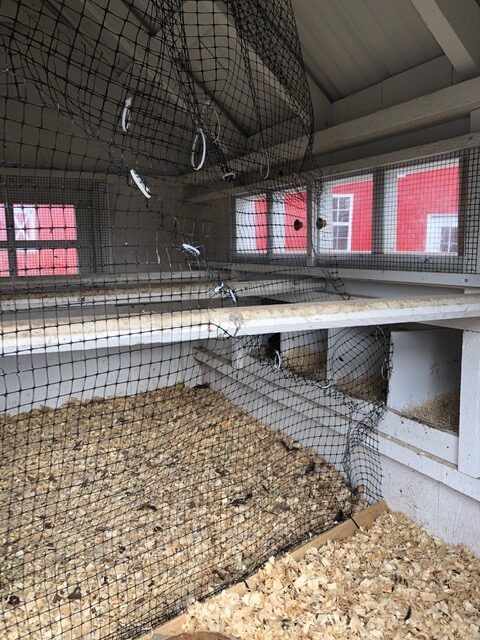
It took her a month for her injuries to heal up before we could introduce her back into the flock. That was a long, difficult process. She has never regained her place in the pecking order she had before her injuries and some of the dominant hens unfortunately still pick on her and chase her around. I had to partition off a small part of the coop for her so the others could get used to her again. I included a nest box and part of a roost bar in her section so she could be right up beside them on the roost.
She is very attached to me since being nursed back to health and receiving extra brushing, treats and cuddle time.

Check out our WHAT WE USE page for links to most of the items I’ve recommended in this blog. If you decide to buy anything from those links, we make a small commission which would really help us at SMH to keep providing homesteading tips. It’s an affiliate program service to small business owners like us and doesn’t cost any extra for you. We are happy to provide an easy way to find all the essential supplies we use and recommend to set you up for success. See our Disclosure and Privacy Policy for more info.
FIND THE LINKS BELOW TO ALL FIVE CHAPTERS OF MY FREE E-BOOK: “THE ULTIMATE GUIDE TO BABY CHICKS”.
Leave a Reply