
Welcome to White Oak Farm!
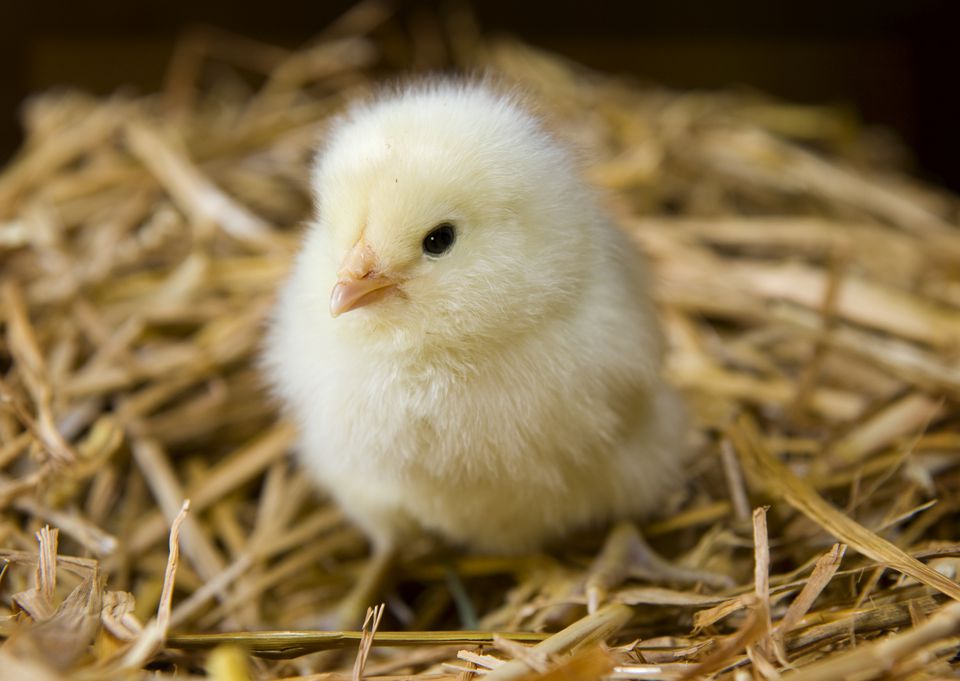
RAISING HEALTHY CHICKS
This week you’ll learn about the second greatest danger for your baby chicks. Be sure to go back to Chapters 1-3 and be sure to come back next week for Chapter 5 for my other tips on raising healthy, happy chicks!
THE SECOND BIGGEST DANGER
You must keep them WARM AND DRY!
A wet chick will get chilly very quickly, and a cold chick is a dead chick. It could be injured or die from getting wet and cold in a very short amount of time. If one gets wet it will also be a target for getting pecked at by the others because the fur clumps up and they can see through to the skin.
MY OWN TRAUMATIC EXPERIENCE:
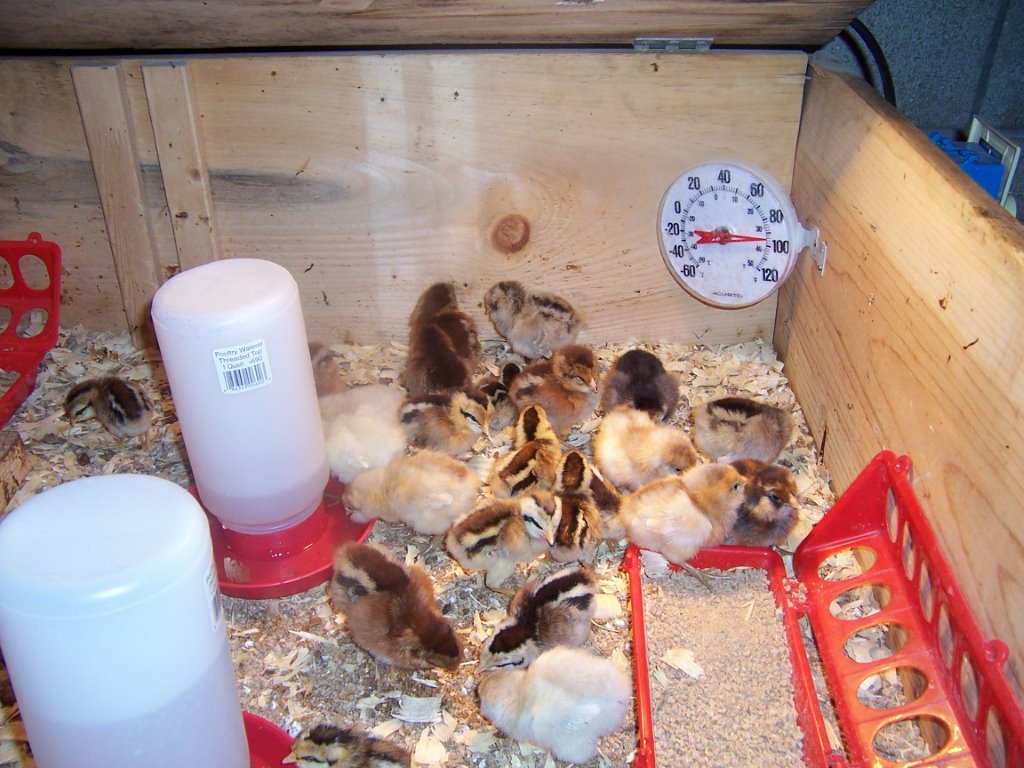
One evening before bed, I went to check on my first flock when they were about 10 days old. I found two of them trying to dust bath themselves in some wet pine shavings near the water dish that had spilled over. They were shivering and had wet bits of chick feed and shavings stuck all into their fur and were in the middle of a circle of chicks and all the others were taking turns pecking at them! I was horrified! How could my little sweet babies be so mean!?
I quickly dried them a bit with paper towels, wrapped them in a towel and brought them into my bathroom. I turned on my blow dryer on warm and low speed and gently dried them. Needless to say, even though I was really tired that night, I was so happy I made that last extra trip down the stairs just to check on them. I know if I would’ve only found them that way in the morning it would’ve been too late!
While you’re drying them, if they get too hot they will start to pant. At that point you need to stop drying for a few minutes and give them a drink of cool water immediately. Once they’ve gotten a drink and cooled down you can dry them some more. If they’re just barely damp, you can return them to the brooder and they will get warmed up and dry the rest of the way under the heat lamp.

THE RECIPE FOR SUCCESS
Special Water is Important!
Together, electrolytes and probiotics mixed together in one waterer will ensure they have everything they need to be their strongest and healthiest at all times. I personally have had wonderful success and not lost any chicks doing this. I highly recommend using the SAV-A-CHICK brand, but the Rooster Booster brand and others have electrolyte & probiotic mixes that you could try. See our WHAT WE USE page for a link for this.
UPDATE MAY 3, 2021: I’m currently using the Rooster Booster brand for our 29 new meat chickens that are now one week old. They’re doing great on it so far! Only have had 9 mild cases of pasty butt in a week!
Source: https://www.cacklehatchery.com/chick-care-instructions/
The reason you need two waterers is because they always need the option of plain drinking water as well so they don’t get too much sodium in their system from the electrolytes. They seem to instinctively know best just how much of each they need. Just be sure to follow all of the directions on your electrolytes and probiotics packages and they’ll be fine! Change the water out daily, even if it looks fine.
OTHER SUPPLEMENTS
Though some people swear by it, I have personally not used Apple Cider Vinegar, or ACV, because I’ve read even just a little bit too much can be harmful to some of their organs. I did try it for a few days and it made the water sour and mold very quickly. Various herbs and other natural substances have been studied and thought to help battle coccidiosis. One of these is apple cider vinegar. Please do your own research on this if you’re interested.
LOTS MORE TO LEARN
Thank you for reading The Ultimate Guide to Baby Chicks! I hope it has helped you decide to make space for these sweet little creatures in your world and answered many of the questions you may have had about them!
If you missed the first three chapters, please go back to those for lots of important info! Be sure to join me next week as I finish up Chapter 5 in this series. I’ll be sharing essential must-know tips for raising your new chicks! You can find the links for the other 4 Chapters at the bottom of this blog page and also on the HOMESTEAD BLOG page of this website.
There’s a complete list of the supplies you’ll need for your chicks in CHAPTER 2 of this series, and lots of those items are available through the links on our WHAT WE USE page.
You can keep up with us on the farm right here at our SMH website and please check out our videos from our SMH YouTube Channel too! There are currently chicken related videos on Building a really nice, sturdy Brooder and Winter Feeding of our Chickens.
I also frequently post current pics of my girls, what they’ve been up to, and I’ve been introducing them by name on our SMH Facebook Page! Scroll down to see photos of Daisy, our hawk attack survivor hen! I hope you’ll have a wonderful week!
Truly,

Success isn’t about how much money you make; it’s about the difference you make in people’s lives.” – Michelle Obama
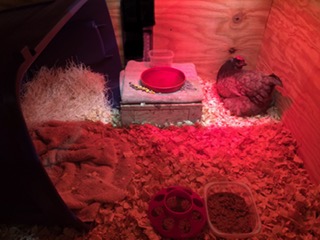
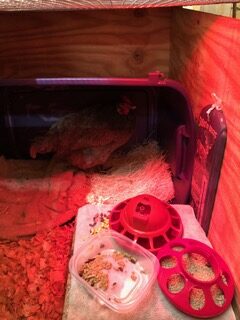
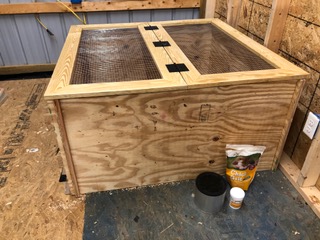
Visit the VIDEO GALLERY page of this website to see How to Build a Chick Brooder Box. Martin takes you into the workshop to show you how to build it out of 1 sheet of plywood. It’s a really nice, sturdy one that stores flat. It can be used for many years to come for raising chicks and even as an isolation box for a hurt or sick chicken in the future. See Daisy, our hawk attack survivor, in the photos below.
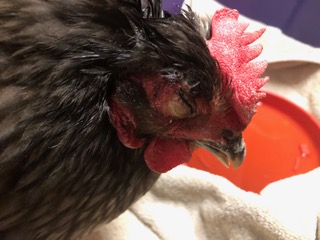
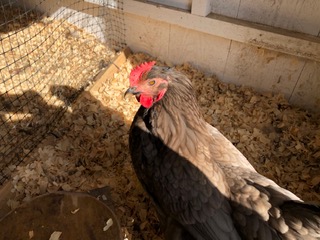
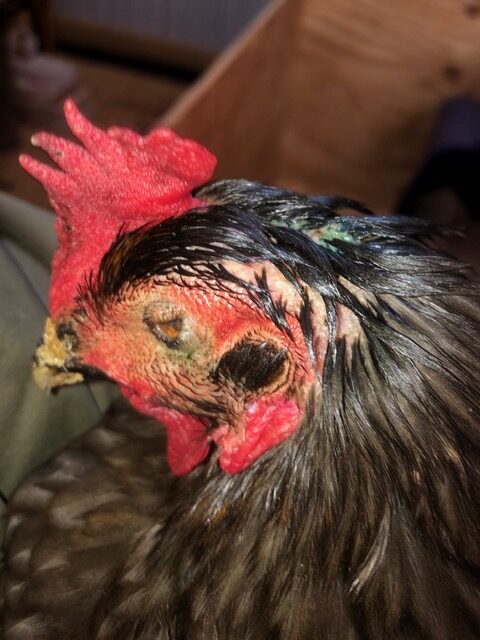

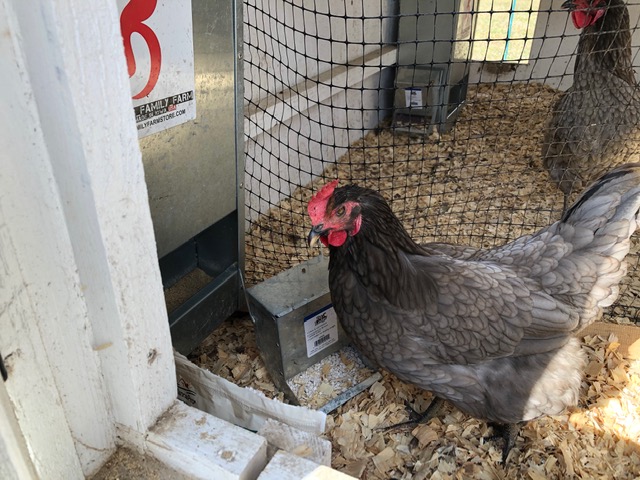
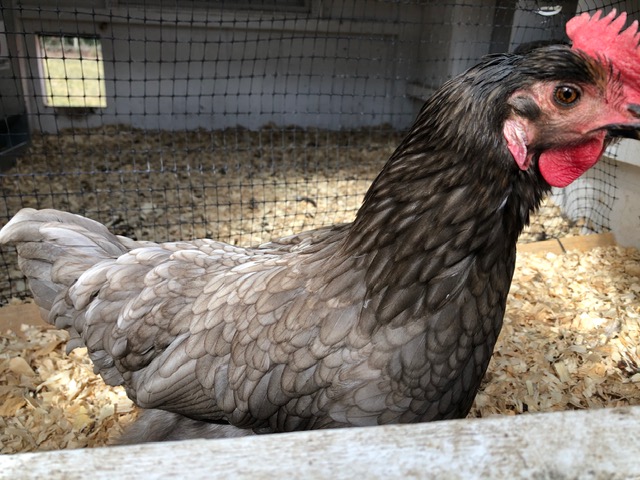
Daisy is a Sapphire Gem. She’s a survivor of a recent hawk attack the day after New year’s Day. Fortunately she survived but was in shock for 2 days. The poor little girl lost some sight in her left eye and about 1/2 her body weight. She has had a rough go of it.
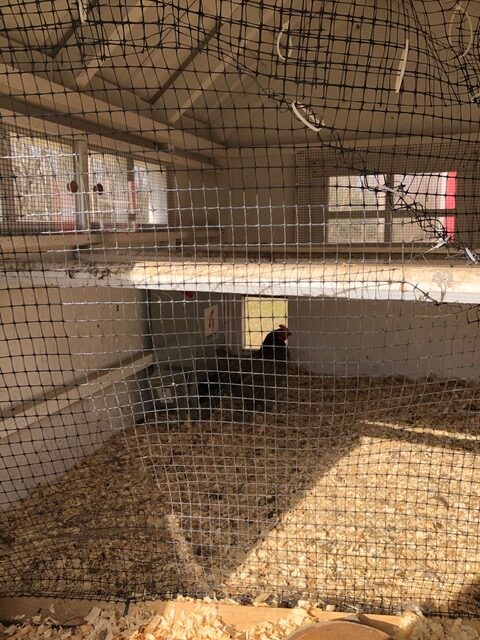
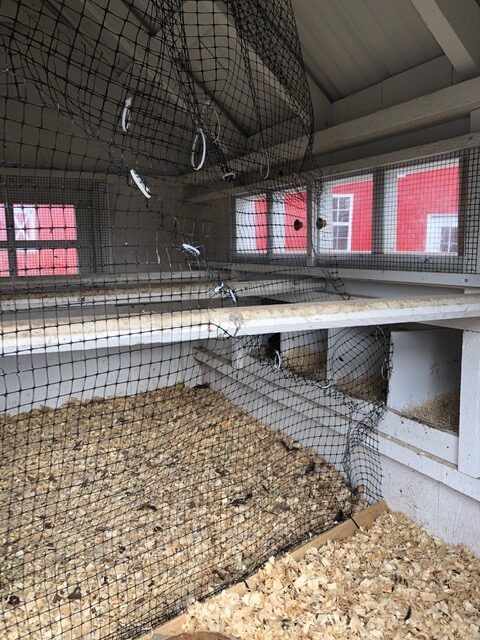
It took a month for her injuries to heal up before we could introduce her back into the flock. That was a long, difficult process. She has never regained her place in the pecking order she had before her injuries and some of the dominant hens unfortunately still pick on her and chase her around. I had to partition off a small part of the coop for her so the others could get used to her again. I included a nest box and part of a roost bar in her section so she could be right up beside them on the roost.
She is very attached to me since being nursed back to health and receiving extra brushing, treats and cuddle time.
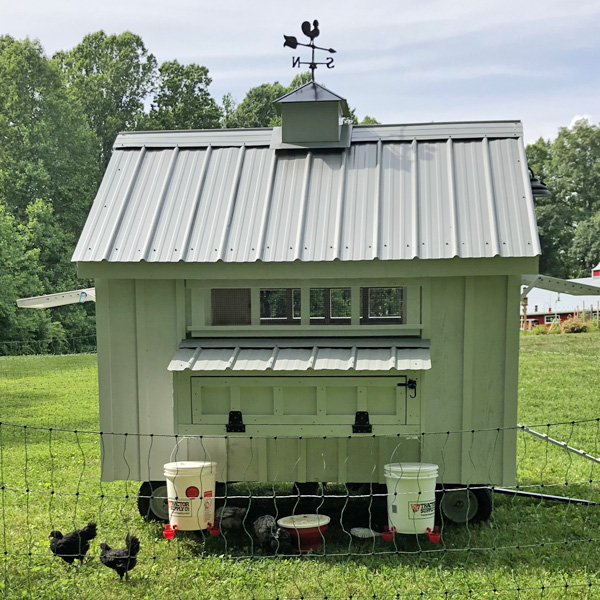
We’ll release a couple more YouTube videos soon of our Mobile Chicken Coop and will be featuring our Premier 1 solar/electric fencing system for pasture-raised chickens!
Check out our WHAT WE USE page for links to most of the items I’ve recommended in this blog. If you decide to buy anything from those links, we make a small commission which would really help us at SMH to keep providing homesteading tips. It’s an affiliate program service to small business owners like us and doesn’t cost any extra for you. We are happy to provide an easy way to find all the essential supplies we use and recommend to set you up for success. See our Disclosure and Privacy Policy for more info.
FIND THE LINKS BELOW TO ALL FIVE CHAPTERS OF MY FREE E-BOOK: “THE SMH ULTIMATE GUIDE TO BABY CHICKS”.
Leave a Reply